


ClevGuard Support: Monitor Devices with Others' Permission.
Are you worried that someone who is tracking your location will get to know that you stopped sharing it? Sharing your location within the Apple ecosystem is one of the biggest concern you may have, and still many people are searching for methods for how to stop sharing location without them knowing in social media platform. Indeed, there are solutions you can try and stop sharing location without notifying iMessage and the other person.
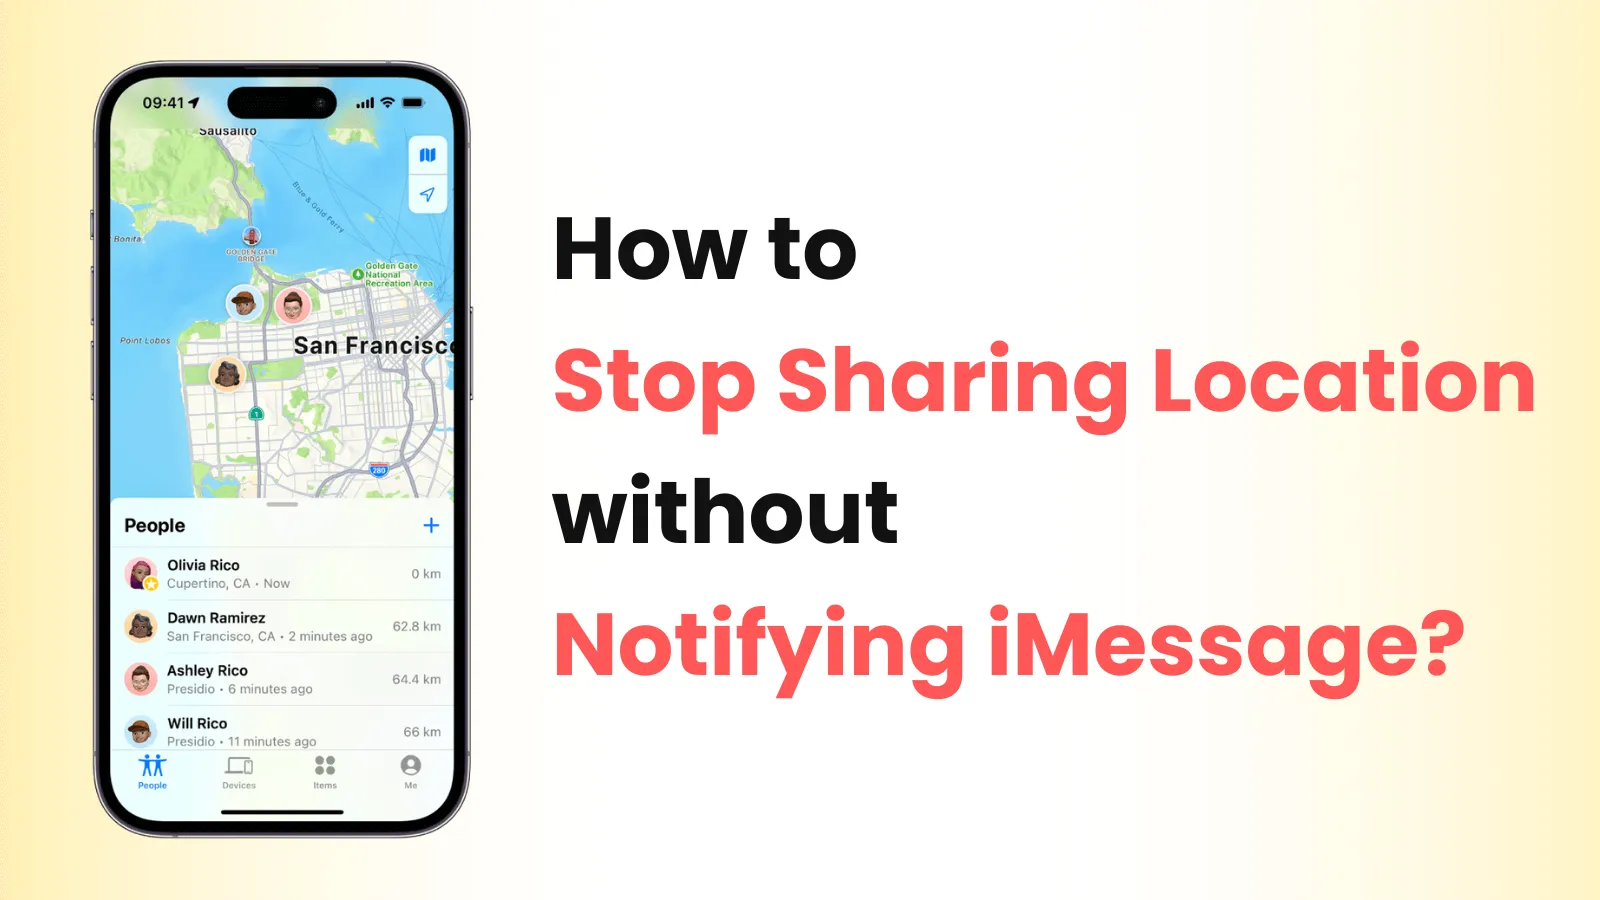
How to Stop Sharing Location Without Notifying iMessage? - 6 Options
Part 1. Can I Stop Sharing Location Without Notifying?
Yes, it is possible to do so by using the right ways of stopping your location sharing. As you use any of the solutions below, you can easily stop another person from tracking your real location, and they will not even notice it. There will be no notifications or messages, which makes things better for those with privacy concerns.
When we normally share our location on iPhone, the other person is notified as soon as location sharing stops. Although it is a security feature, it can create privacy issues. However, remember that using these options can also limit your iPhone's usage of location.
Part 2. How to Stop Sharing Location Without Notifying iMessage [6 Options]
The straightforward methods of stopping location sharing notify the person on the other end that you have done it. The solutions we will discuss below will ensure that they stop getting your location and won't even get any notification about that happening.
Option 1. Use Location Changer
You may find none of the above methods useful enough for you, and in such a situation, using ClevGuard ClevGo will be your best choice. It is the best location spoofing tool with iOS devices to fake any location, movement, etc., without doing much. It is packed with features for every smartphone and supports computers with both Windows and Mac operating systems.

ClevGuard ClevGo - Best Location Changer
- Best GPS spoofing experience without jailbreaking iOS or rooting android.
- Instant location teleporting option.
- Automatic or manual location movement option with route customization.
- Keyboard and joystick input for manual location movement.
- Supports the latest OS versions.
Step 1. After you have successfully installed ClevGuard ClevGo, Launch the program on your computer.

Step 2. Connect your iPhone to the tool and let the tool detect it.

Step 3. Once you get the map, select Teleport Mode from the top right. Now on the left top option, enter the location of your choice.

Step 4. You will get a pop-up message on your screen. Here click Move, and your iPhone will get the new location.

Option 2. Turn on Airplane Mode
You can also stop sharing location without notifying iMessage by turning on airplane mode. It’s worth noting that turning on airplane mode will cut off all the networks of your phone.
Here is how to turn on airplane mode:
- Swipe down from the top-right edge and you will enter the Control Center.
- Turn on the airplane mode by tapping on the plane icon. In this way, you'll turn on the airplane mode successfully.

Option 3. Stop Sharing Location from iMessage
The easiest way of stopping your location sharing without the other person knowing is from the iMessage application. It may sometimes show in the chat that the location sharing has ended, but the other person won't get any notification for that, like Find My. Here is how you can do it in the iMessage application:
- Open the chat in the iMessage app.
- Go to contact information.
- Tap on Stop Sharing My Location.

With that, the other person will lose access to your location until shared again.
Option 4. Turn Off Location Services
A cheeky way of making your location private without letting them know is by turning off the location service setting on iPhone. When you do this, they will stop getting the latest location updates from your device but won't get any notification about you doing it. The process is very simple, and here is how to do it:
- Open Settings and search for the Location Services option.
- Or you can go to the Location and toggle off Location Services.

Option 5. Stop Sharing Location from Find My
Most people use the Find My application to share their location with others. However, turning off the location directly from the app will not be the most appropriate way to do it since it will notify the other person with a notification. If you do the same thing from your settings, then they won't get a notification, and here is how to do it:
- Inside Settings, search for find my.
- Or tap on your profile name, and go to Find My in Apple ID.
- Toggle Share My Location to the off position, and you are done.

Option 6. Use Another Device As Your Location
Sometimes you want another person to keep getting a location but not your real one. For this option to work, you will need another iPhone, iPad, or some other apple device with the Find My application. Follow the steps below, and you can use another device with your Apple ID to share your fake location:
- Fetch your another iOS device, then go inside Settings and search for find my.
- Select the other available device for sharing the location on my location option.

Now your original device won't share its location to Find My.
Bonus: How to Know If Someone Stopped Sharing Location?
If you're wondering whether someone has stopped sharing their location with you, there are a few indicators you can look out for. The method of determining this may vary depending on the specific platform or app being used to share location. Here are some general ways to determine if someone has stopped sharing their location:
Check the app or platform settings: Start by opening the app or platform through which you were previously tracking their location. Look for any settings related to location sharing, such as privacy settings or sharing options. If you can't find any relevant settings, consider exploring the app's help or support documentation for guidance.
Look for a lack of location updates: If the person was previously sharing their location in real-time, you would typically see regular updates or their last known location on your map. If you notice that the location marker has stopped updating or remains stagnant for an extended period, it could indicate that the person has stopped sharing their location.
Communication with the person: If you have a good relationship with the person and they were willingly sharing their location with you, it might be worth having an open conversation with them. Politely ask if they have stopped sharing their location or if there are any issues with the app or platform you're using to track them.
Observe changes in behavior: If someone has intentionally stopped sharing their location, it may be reflected in their behavior or actions. For example, if they no longer mention their whereabouts or make excuses when asked about their location, it could imply that they have discontinued location sharing.
Test the location sharing feature: If you suspect that someone has stopped sharing their location but aren't entirely sure, you can perform a simple test. Ask them if they could enable location sharing briefly, perhaps for a specific event or gathering. If they decline or provide reasons why they can't, it suggests that they may have indeed stopped sharing their location.
FAQs: More About iMessage Location Sharing on iPhone
1. Why does iMessage say I stopped sharing location but I didn't?
When you share the live location, there are time-based options. Let's say you opted for one hour option in a hurry instead of indefinite sharing. Now after one hour, your location sharing will automatically stop without your input.
2. Did they stop sharing location if it says location not available?
This message clearly indicates that their iPhone is not sharing location data. However, it does not tell if the person has turned off location services or if this issue is due to some technical GPS issue.
Conclusion
You may want to stop sharing your location with someone else in multiple instances. The biggest issue you face here is the other person knowing you are doing so. However, with the methods discussed here, you can absolutely get methods on how to stop sharing location without notifying iMessage with our latest guide. ClevGo will be the best option if you choose to turn to any third-party tool, as it can solve you need and also prepare for possible future use such as Pokemon Go and Life360.
- Top 6 Solutions to Spoof Pokémon Go on Android without Root
- 5 Tips on How to Play Pokemon Go without Moving [Step Guide]
- [Updated] Best 5 Pokemon Go Hack in 2022 for Android or iOS
- Ultimate Guide for Beginners: How to Play Pokémon Go
- How to Level Up Fast in Pokemon Go [Pokemon Go Level Up Guide]
- 5 TIPS: How to Hatch Eggs in Pokémon Go Without Walking
You may also be interested in:
By Megan Evans
A certified content marketing specialist with great passion for Internet and online safety. She is bent on educating the audience about cyber safety tips and tricks.
(Click to rate this post)
Generally rated 4.8 (170 participated)
Rated Successfully!
You have already rated this article!
Thank you for your feedback!