Worried that your kid may waste valuable time on iPhone? Is your kid getting addicted to certain gaming apps and inappropriate websites? Wondering how to restrict your kid's phone activities for his betterment?
Well, you can set parental controls on iPad and iPhone and ensure that your kid does not misuse the iOS device. But are these parental controls enough, or do you need a third-party parental control app?
In this article, we will illustrate all the steps to follow to put parental controls on iPad and iPhone. We will also answer how a professional parental control app is necessary for the parents.
Table of Contents
Part 1: What Can I Restrict with Inbuilt Parental Control on iPhone and iPad?
- Set A Screen Time
- Prevent In-App Purchases
- Enable Guided Access Sessions
- Restrict Inappropriate Web Content
- Enable Siri Safe Search
- Regulate Game Center
- Make Changes to Other Settings As Required
Part 2: Why You Still Need a Third-Party Parental Control?
Part 3: What's the Best Third-Party Parental Control App?
Part 4: Final Verdict
What Can I Restrict with Inbuilt Parental Control on iPhone and iPad?
Here is the list of all the parental controls available and all the steps on how to put parental controls on iPhone and iPad.
1. Set A Screen Time
You can set a screen time for your kid's iOS device so that he cannot use the device beyond the set duration on a regular basis.
How To Set Up?
Step 1: Go to Settings app.
Step 2: Tap on Screen Time option.
Step 3: You have to select if 'This Is My Device' or 'This is My Child's Device'.
Step 4: Tap on Downtime to set a time limit for the phone. The time limit represents the number of hours up to which your kid can access the phone.
Step 5: Tap on App Limits to set time limits for individual apps.
Step 6: Tap on Always Allowed to select the apps that your kid can access at any time such as educational apps.
2. Prevent In-App Purchases
In-app purchase refers to buying additional services or premium features from inside an app. For example, in-app purchases in a gaming app include paying a fee to unlock new features. You would not want your kid to do such purchasing activities and waste the money.
How To Set Up?
Step 1: Go to Settings app.
Step 1: Tap on Screen Time option.
Step 1: Tap on Content & Privacy Restrictions option.
Step 1: On the next screen, toggle on Content & Privacy Restrictions option.
Step 5: Tap on iTunes & App Store Purchases option.
Step 6: Choose Don't Allow option.
3. Enable Guided Access Sessions
Guided access restricts the use of iPhone or iPad to a single app. It also lets you control the features for that app by making certain parts of the screen unresponsive to touches and taps. Besides, you can set a time limit after which the device's display will get automatically locked.
How To Set Up?
Step 1: Go to Settings app.
Step 2: Tap on Accessibility option.
Step 3: Tap on Guided Access option.
Step 4: Toggle on Guided Access.
There are various options available under Guided Access such as Passcode settings, Time Limits, Accessibility Shortcut and Display Auto-Lock. As per your requirements, you can set the options accordingly.
Step 5: To set a single app on the screen, you need to triple-tap on the side button or home button of the device. Thereafter, you can draw a circle to stop responding touches on that area of the app when the Guided Access session is on.
4. Restrict Inappropriate Web Content
The online world is full of inappropriate content for kids and they can come across such content willingly as well as unwillingly. Both ways, it is not fit for them to watch or read such content. Hence, you set up parental controls on iPad or iPhone to eliminate the risk of your kid coming across inappropriate web content.
How To Set Up?
Step 1: Go to Settings app.
Step 2: Tap on Screen Time option.
Step 3: Tap on Content & Privacy Restrictions option.
Step 4: If not turned on, toggle on Content & Privacy Restrictions option.
Step 5: Tap on Content Restriction option.
Step 6: Go to Web Content option.
You can choose from Limit Adult Websites or Allow Websites Only. If you choose the latter option, you have to explicitly mention which websites your kid can access or never access.
5. Enable Siri Safe Search
Siri is the voice assistant of iPhone and iPad, and almost everyone searches anything on the internet by voicing their commands to Siri.
As a parental control measure, you should ensure that the result that Siri will show or say is also going to be free of explicit language. In fact, if you want, you can disallow web content search using Siri as an extreme measure.
How To Set Up?
Step 1: Go to Settings app.
Step 2: Tap on Screen Time option.
Step 3: Tap on Content & Privacy Restrictions option.
Step 4: Tap on Content Restriction option.
Step 5: Go to Siri section and you have to set Explicit Language option to Not Allow. If you want, you can do the same to Web Search Content option.
6. Regulate Game Center
The parental settings on iPad and iPhone allow parents to regulate the gaming options. They can prevent their kid from playing multiplayer games, adding friends and even recording the screen while playing on Game Center. Game Center is an Apple service where iOS users play multiplayer games for fun.
How To Set Up?
Step 1: Go to Settings app.
Step 2: Tap on Screen Time option.
Step 3: Tap on Content & Privacy Restrictions option.
Step 4: Tap on Content Restriction option.
Step 5: Go to Game Center section.
Step 6: You can regulate Multiplayer Games, Adding Friends, and Screen Recording options as required.
7. Make Changes to Other Settings As Required
We have already stated the most relevant parental control features that iPhone and iPad have to offer. Apart from these, there are various other settings and options available under Content & Privacy Restrictions section.
You should go through them and make changes as per requirements to safeguard your kid in the best possible way.
How To Set Up?
Step 1: Go to Settings app.
Step 2: Tap on Screen Time option.
Step 3: Tap on Content & Privacy Restrictions option.
Step 4: Check the entire Privacy section and make changes as necessary. Similarly, check the other sections available and make the necessary changes.
Why You Still Need a Third-Party Parental Control?
Now that you know how to put parental controls on iPad and iPhone, you need to know that these default parental controls are not enough. This is because they are missing out on options to monitor and control your kid's social media activities, text messages, phone calls, and phone media files.
Besides, the online world is a tricky place to be in for kids. Unless you monitor their online activities, you cannot block the required websites through Apple's parental controls.
That is why you need a third-party parental control that has all the required parental and control monitoring features. You can check your kid's browser history as well as app activities and take strict parental control steps accordingly.
What's the Best Third-Party Parental Control App?
There are several popular third-party parental control apps available for iOS devices. We recommend you install KidsGuard Pro for iOS to ensure that your kid is not misusing iPhone or iPad by monitoring and controlling his phone activities.
KidsGuard Pro for iOS has all the features to monitor your kid's phone and online activities that Apple's parental controls don't. You can do this remote monitoring of your kid's phone remotely from your computer.
Therefore, you can consider KidsGuard Pro for iOS as a strong addition to the already in-built parental controls.
KidsGuard Pro parental control app supports Android and iOS devices. If your kid is an iOS user. You can click the "View Demo" button to know more features about KidsGuard Pro for Android.
Here are all the features KidsGuard Pro for iOS offers:
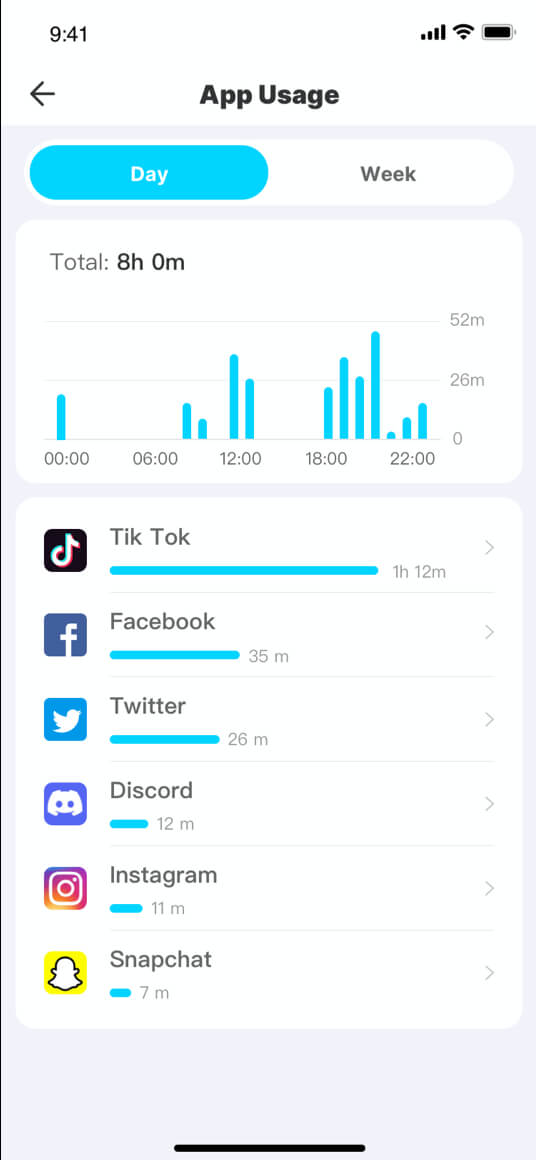
- Monitor Kid's Social Media Apps
- Read Text Messages
- Track Phone Calls
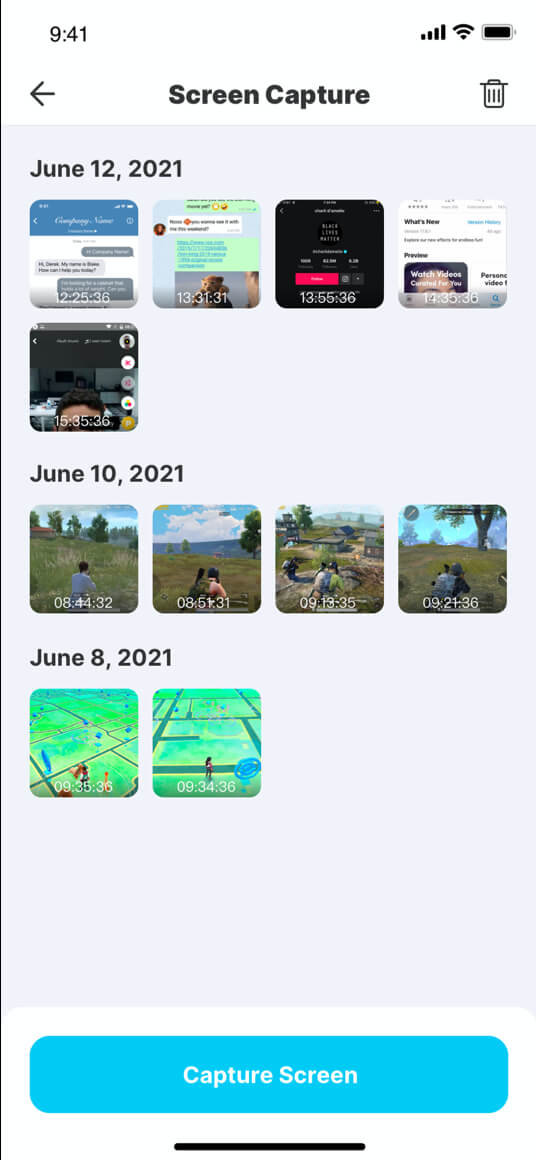
- Check Media Files
- View Text Files
- View Safari History & Bookmark
In today's world, kids are highly active on social media apps. You cannot block those apps as kids use them for group studying. However, you need to monitor your kid's social media activities to ensure they are not chatting with strangers, using adult languages, and exchanging inappropriate media files.
KidsGuard Pro for iOS allows you to monitor WhatsApp, WeChat, Line, Viber, Kik, and QQ. After monitoring them, you can turn on the Guided Access session and set a time limit for the social media apps with Apple's parental controls.
KidsGuard Pro for iOS lets you read all the text messages sent and received on the target iOS device. You can do such monitoring from your computer irrespective of the operating system installed on your device. The text messages are shown in proper format with contact name, number, and timestamp.
With KidsGuard Pro for iOS installed on your kid's iPhone or iPad, you can check the call logs to find out who he is talking to.
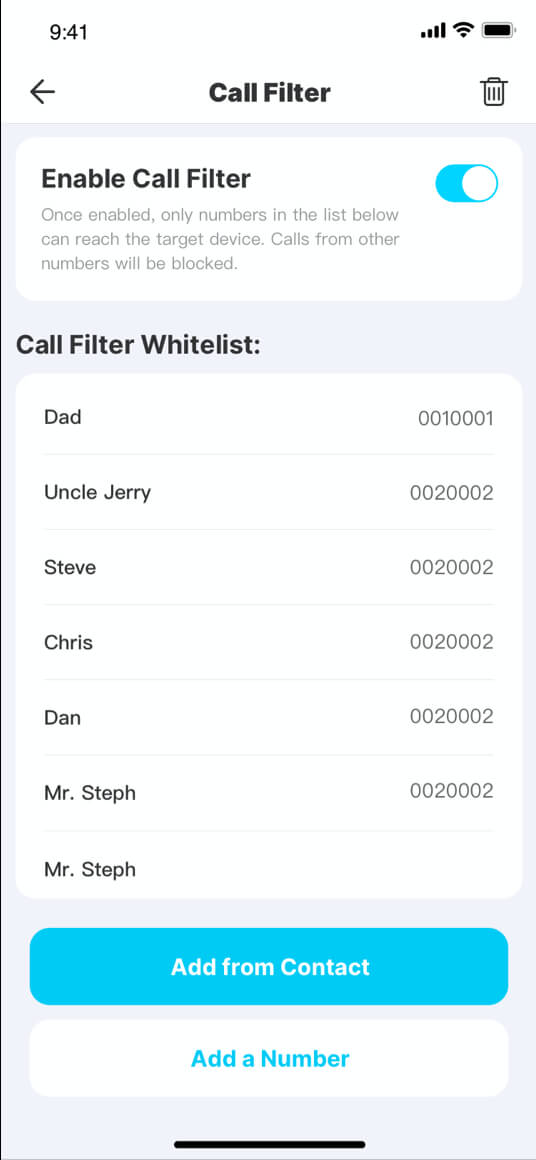
The call logs contain all the details starting from the caller's name or number to call type, duration, and timestamp. Thereafter, you can use iPhone's setting to allow calls from certain contacts only.
You may block adult content on the web by blocking certain websites but your kid can download them from social media platforms as well as get them from his friends.
Therefore, KidsGuard Pro for iOS allows you to check the photos and videos stored on your kid's iPhone or iPad. You can see if your kid is taking or receiving inappropriate photos and videos and take action accordingly.
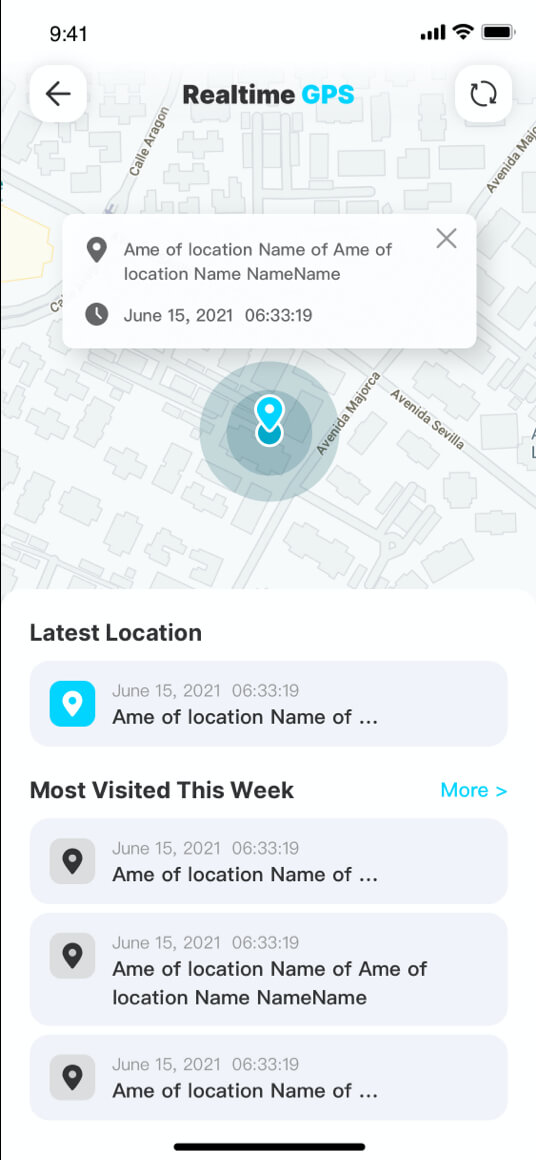
KidsGuard Pro for iOS lets you check the notes that your kid has saved on his iPhone or iPad. Similarly, you can check voice memos, reminders, location history as well as calendars. By reviewing them, you can understand their future plans and confront them if required.
Apple's parental controls on iPhone and iPad have limitations in ensuring safe internet activities. You can block certain websites and ensure safe searching but your kid can open inappropriate websites by typing them on the address bar directly.
That is why KidsGuard Pro for iOS lets you check your kid's browser history and bookmarks. By checking them out, you can easily understand what he was doing online and take steps to ensure safety.
How to Set Up KidsGuard Pro for iOS Parental Control App?
Here are the steps on how to monitor your kid's iPhone or iPad with KidsGuard Pro for iOS app.
Step 1. Register a KidsGuard Pro Account
Click the "Sign Up" button below to get a KidsGuard Pro account with your valid email. After creating the account, choose a suitable plan based on your needs.
Step 2. Download and Install KidsGuard Pro for iOS
After the registration, download and install KidsGuard Pro for iOS on your computer.
Then connect your kid's iPhone or iPad to the computer via USB cable for the first time and launch KidsGuard Pro for iOS and follow the on-screen instruction. The second time onwards, you can connect your kid's device via Wi-Fi connection.
Step 3. Start Monitoring and Protecting Your Kid's iOS Device
After following the on-screen instructions, you should have the backup files which you need to choose to check all the parameters of phone activities from Dashboard.
You can also check the deleted chats and media files which is an exclusive feature of KidsGuard Pro for iOS.
Final Verdict
You have understood how to set parental controls on iPad or iPhone. You must have also understood that these inbuilt parental controls are not enough because you need to actively monitor your kid's phone activities so that you can make the best use of these parental controls.
That is why you need to opt for KidsGuard Pro for iOS and make it work in conjunction with Apple's parental controls for complete protection for your kid.