


Computer Monitoring Solution For Windows & macOS
-
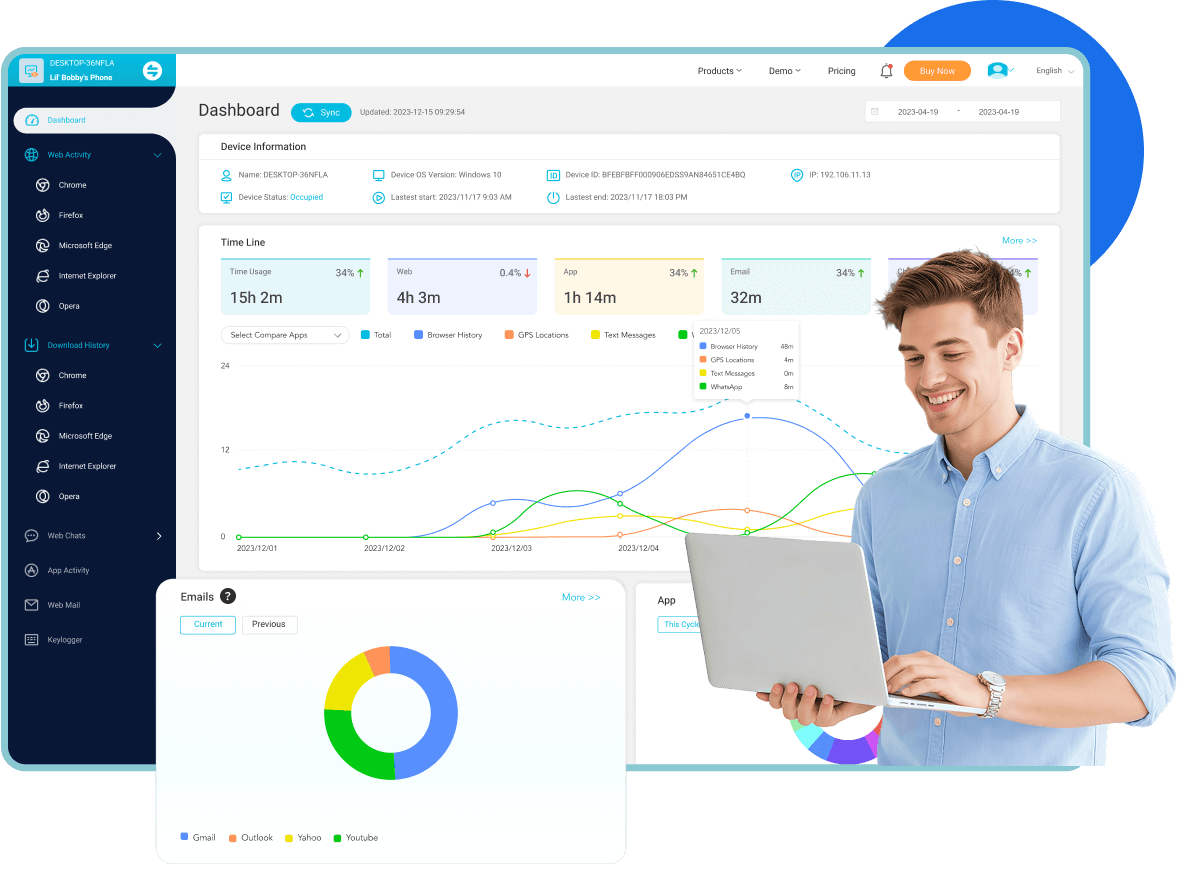
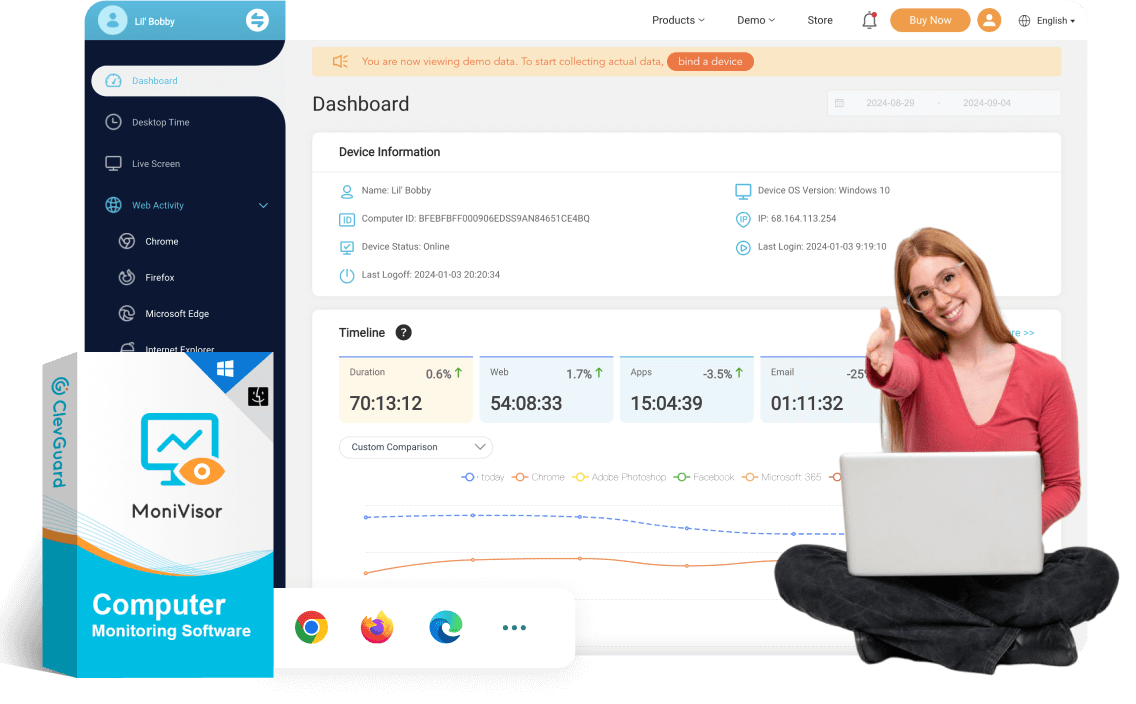
 Real-time tracking
-
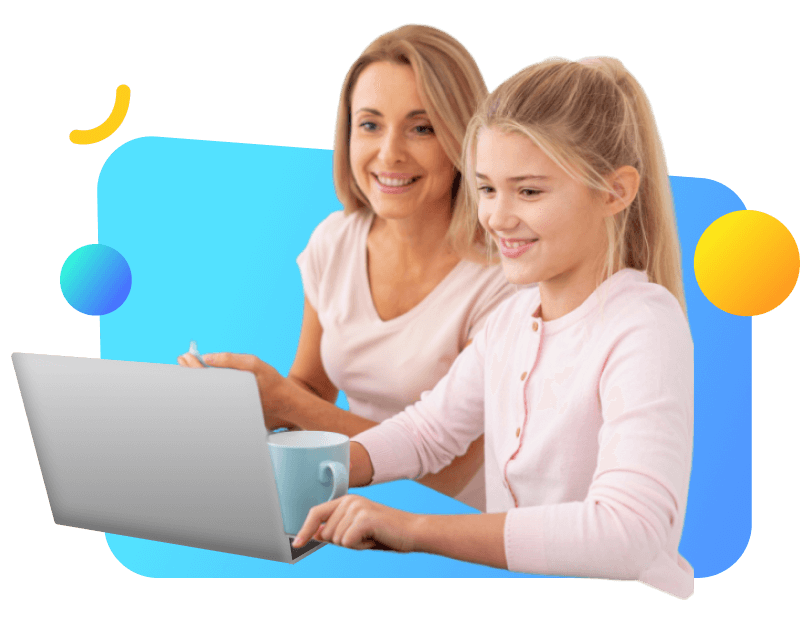
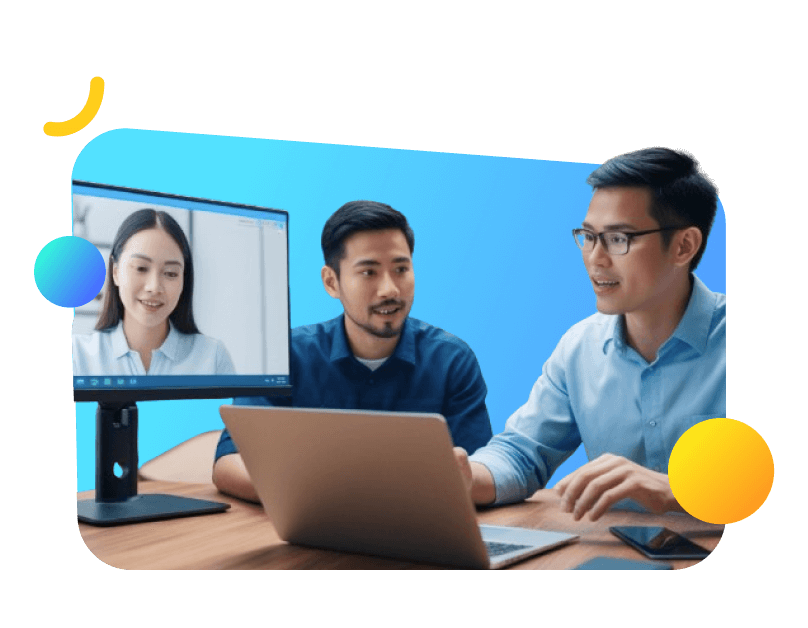
 Ideal for businesses & parents
-
 Detailed reports on usage
-
 Run discreetly
ClevGuard Support: Monitor Devices with Others' Permission.


-
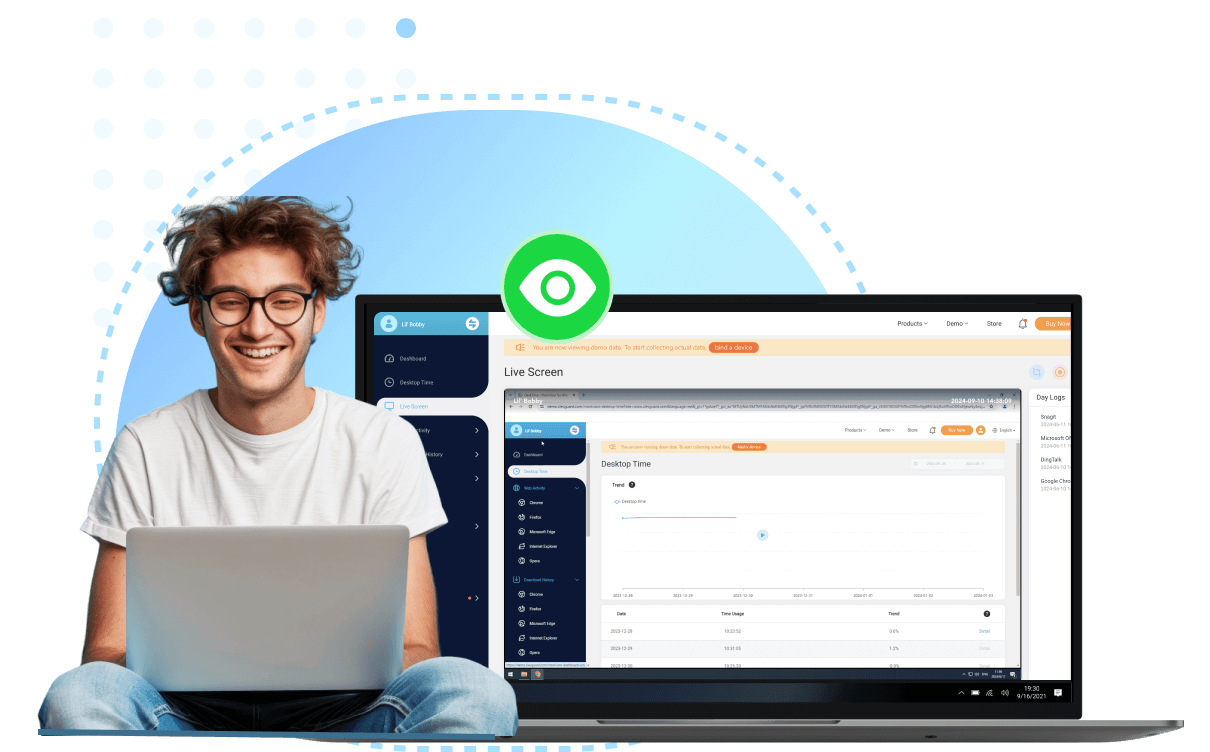
Live screen monitoring helps you view current activities in real-time and ensure focus and identify.

-
Keystroke logging captures every keystroke to track detailed user input and detect any unauthorized actions.

-
Real-time location tracking gives you access to the current location of your monitored devices and past location history.

-
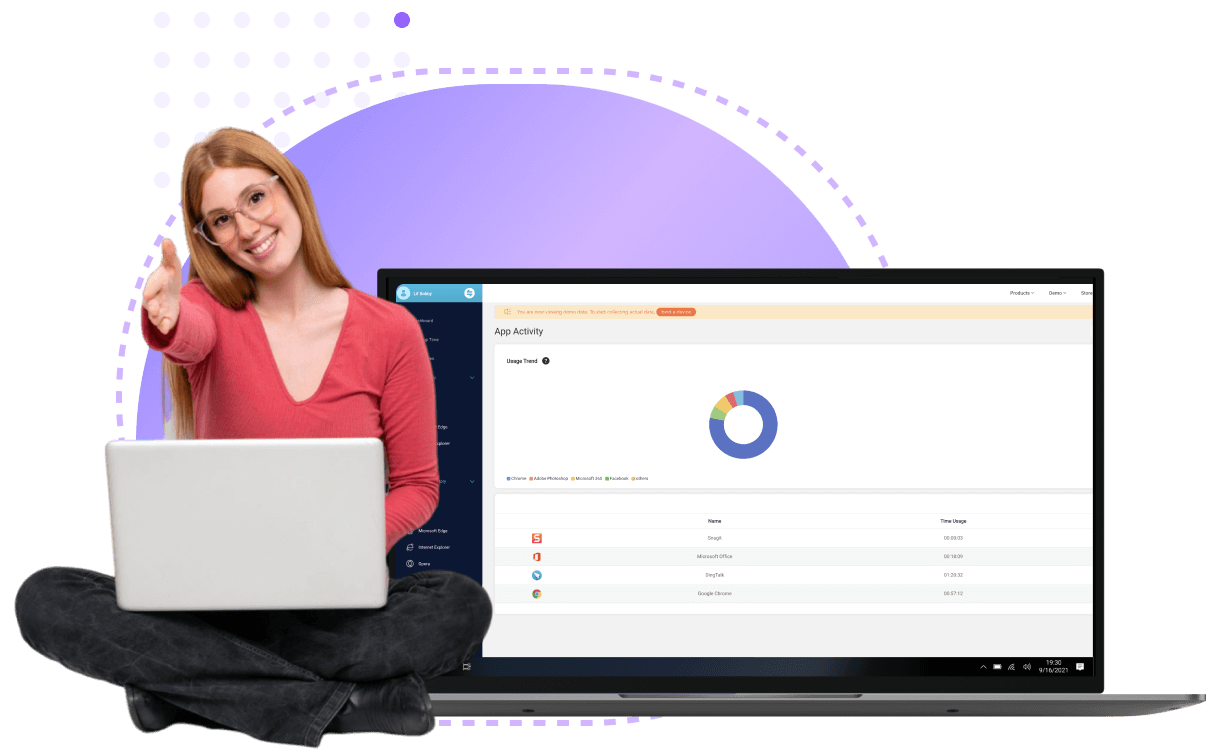
Software usage monitoring keeps track of all applications used and the overall screen time.

-
Microphone monitoring allows you to listen in on conversations around the device.


-
Email tracking monitors all sent and received emails through Gmail, Outlook, and Yahoo to stay on top of important communications.

-
Internet history monitoring keep an eye on browsing activities and download history to ensure safe and productive web usage.

-
Instant messaging monitoring log conversations across popular messaging platforms to detect any inappropriate or suspicious behavior.


-
File activity tracking monitors file copying, creations, modifications, and deletions to prevent data loss and detect unauthorized changes.

-
USB port monitoring logs all device connections to safeguard your system against unauthorized data transfers.

-
Clipboard history tracking keeps a record of all copied content, providing full transparency over shared information.

-
Login history monitoring records every login attempt and logout to ensure that only authorized users are accessing your system.

-
Printing activity monitoring tracks all printing activities to prevent unauthorized document handling and maintain confidentiality.


-
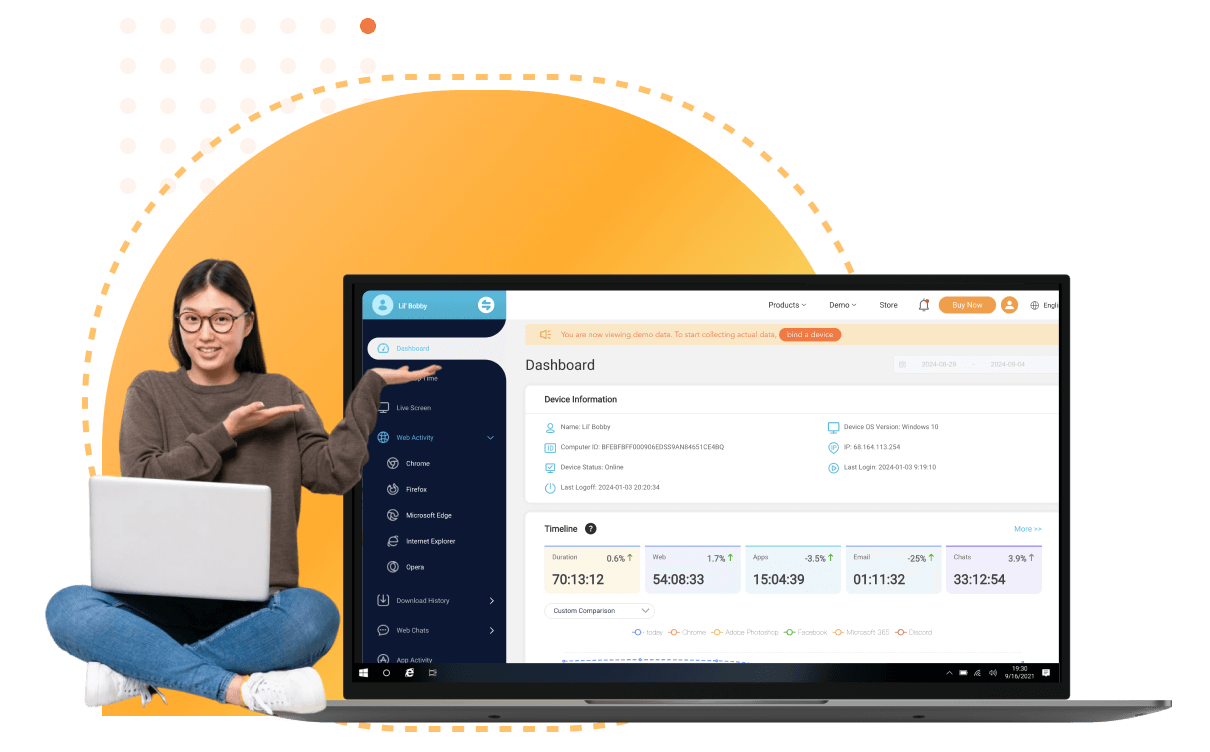
Team dashboard offers a comprehensive view of your team's activities, allowing you to monitor and manage workflows efficiently.

-
Desktop time tracking helps you monitor time spent on desktops to ensure efficient use of work hours and boost productivity.

-
Data export lets you generate detailed reports for further analysis and record-keeping, ensuring no detail is missed.

How to Install MoniVisor
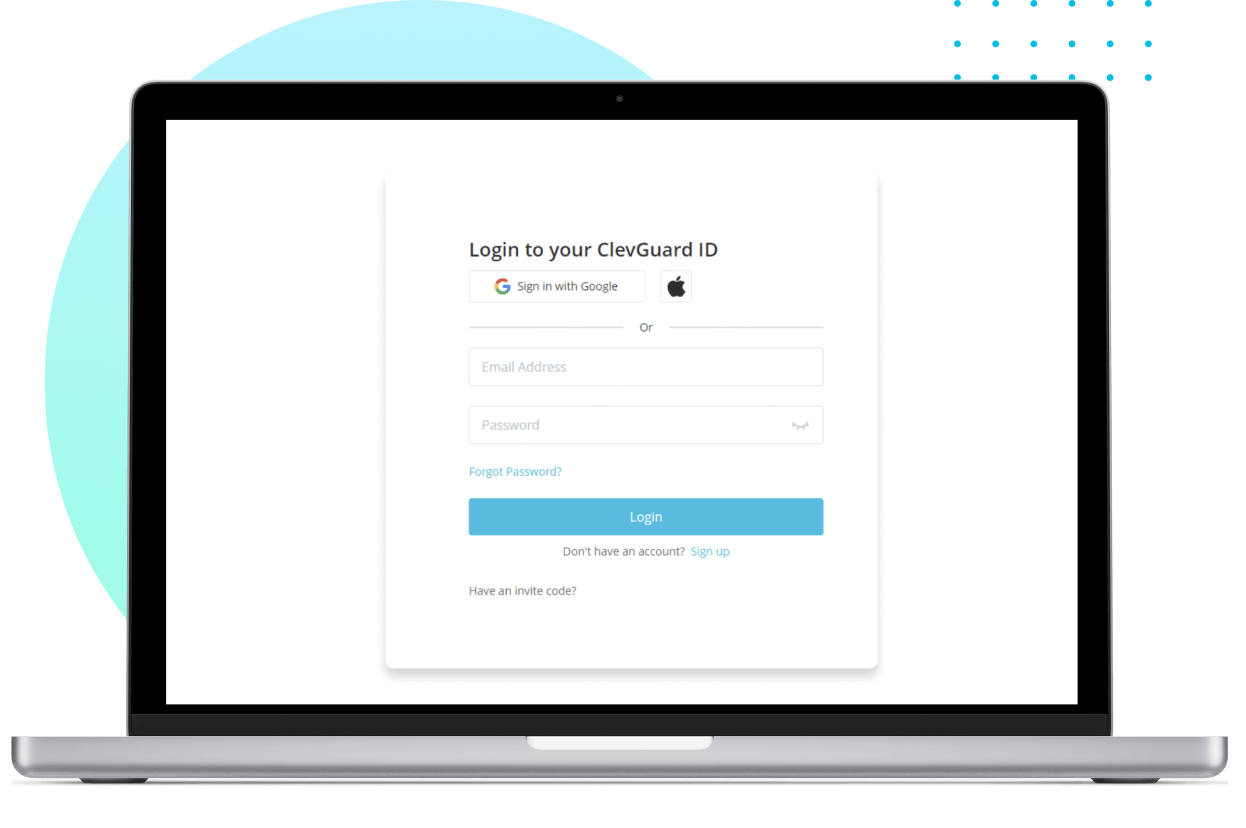
Sign up for a new account and select the plan that suits your needs to unlock MoniVisor’s full potential.
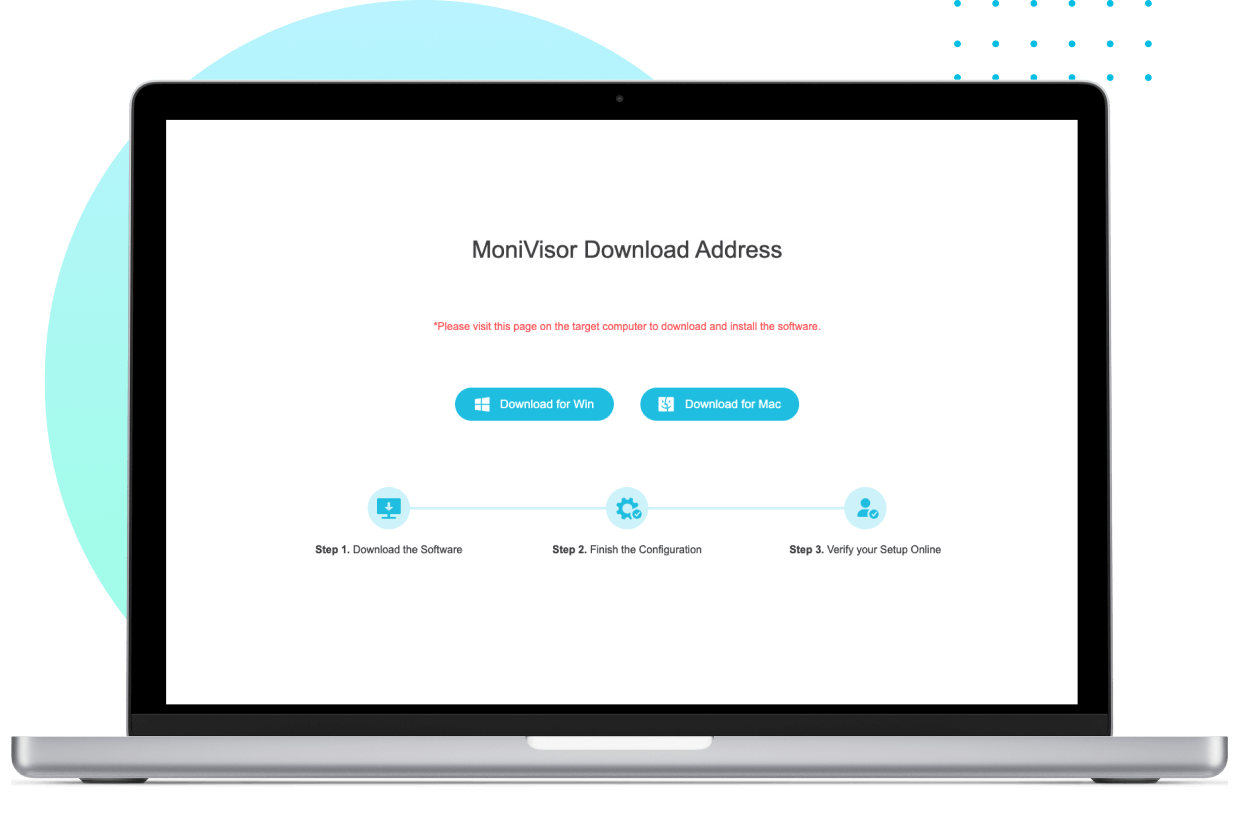
On the target computer, enter the provided link to access the installer. Run the program to begin the installation process.
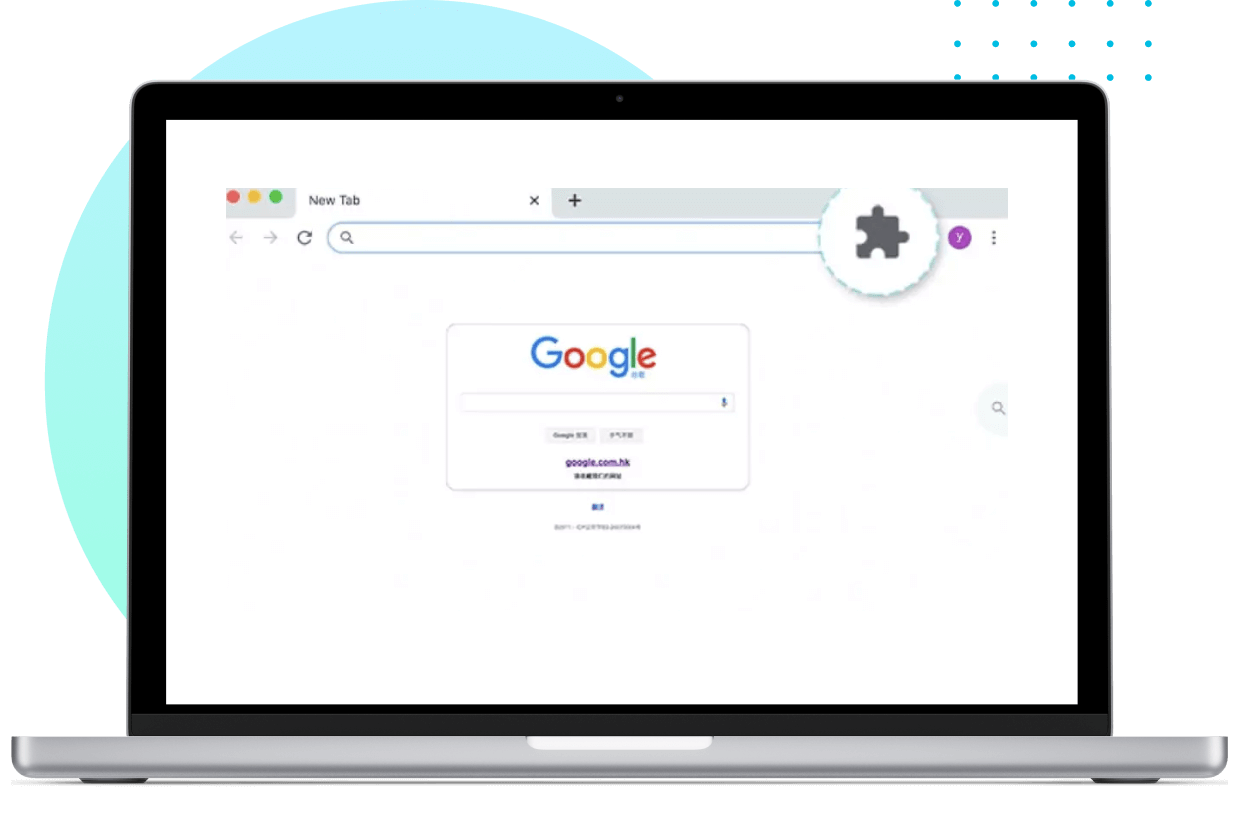
To monitor internet history on Google Chrome, install the necessary Chrome plug-in.
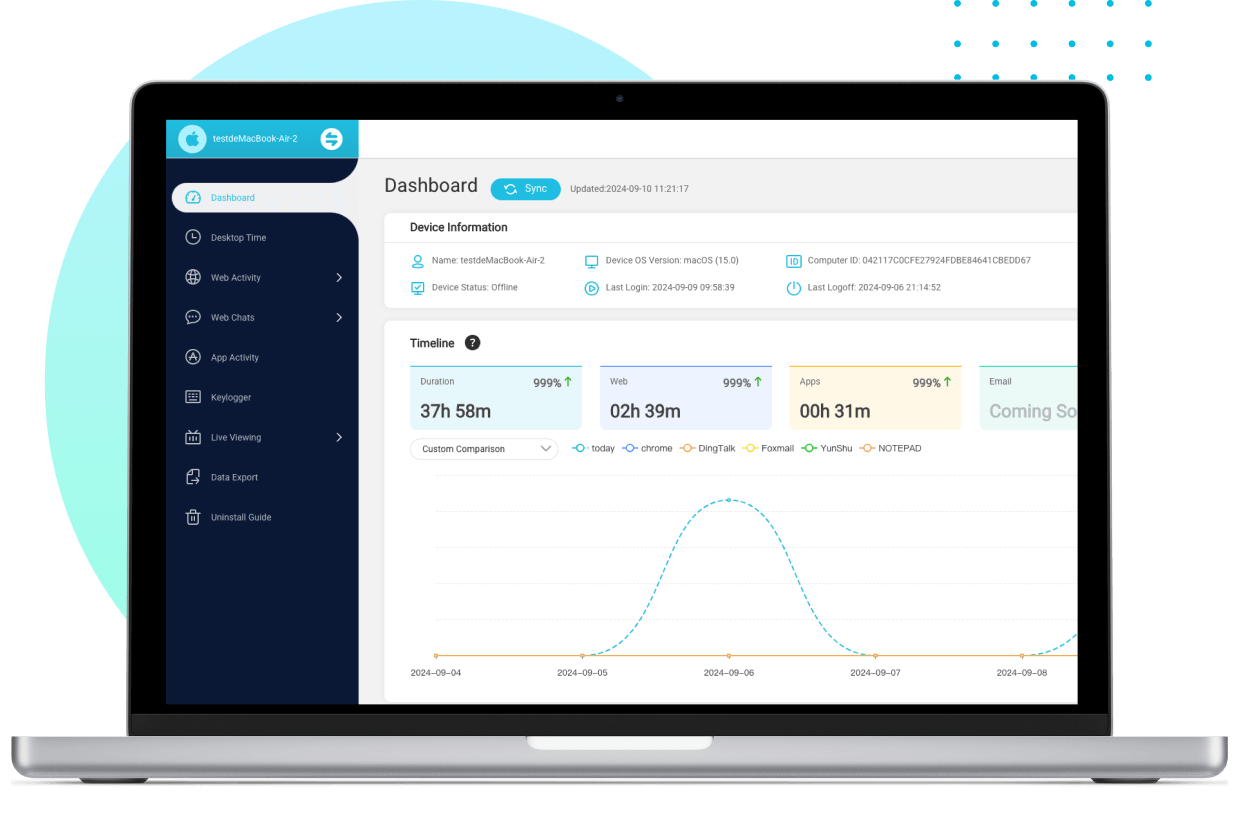
Once set up, log in to your online dashboard and start monitoring the device immediately.
MoniVisor: Tailored Pricing for Your Needs
Why MoniVisor Can Be Your Computer Tracking Solution
Clear, real-time data presentation with a user-friendly interface.
A wide range of PC monitoring features make it a competitive program.
Operate discreetly in the background, without noticeable indicators or notifications to the end user.
We prioritize your privacy and take rigorous measures to safeguard your personal information.
MoniVisor is a safe and reliable computer monitoring program, free from any malicious code or viruses.
Enjoy ongoing improvements and new features with our free software updates.
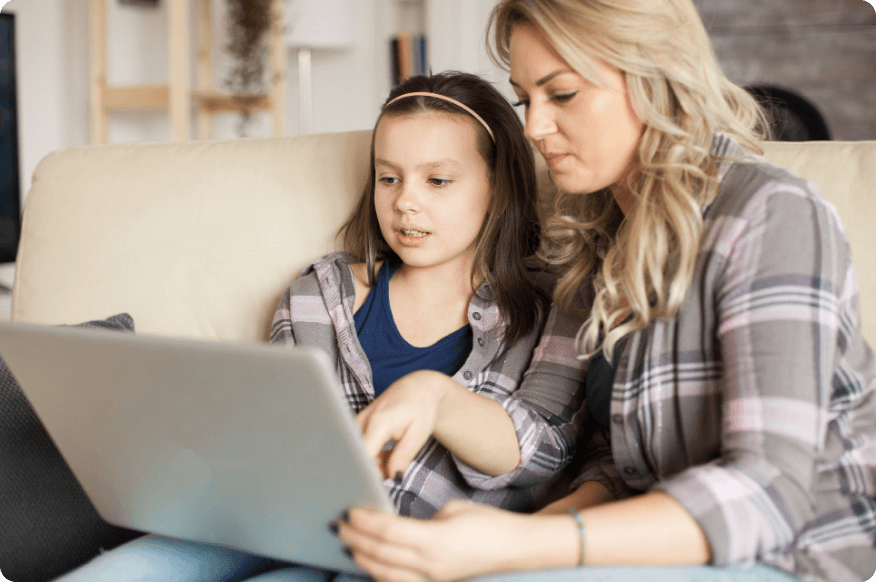
MoniVisor is suitable for

Discover What Real Users Have to Say about MoniVisor
“MoniVisor has been fantastic for me as a parent. I can easily check what my kids are doing on their devices, which really helps me feel more secure. The live screen feature and the reports are straightforward and give me a clear view of their online activity.”

“This program has been a big help for managing my team. It’s great for keeping an eye on how they’re using their computers and making sure everyone is staying productive. The reports are easy to understand and have really helped me fine-tune our workflow. It took a little bit to get familiar with everything, but now it’s running smoothly.”

“Managing a remote team has been a lot easier since I started using MoniVisor. I can check in on different devices from anywhere, which is perfect for keeping track of everything. The live screen view is especially handy for seeing what’s going on in real-time and sorting out any issues quickly.”
- Best Keystroke Logging Software in 2024 | What to Choose
- How to Check Incognito History on PC
- Top-rated File Monitoring Tools to Track File Changes in 2024
- How to Know Your Child's Computer History
- 4 Best Computer Monitoring Software in 2024
- How to Effectively Detect Mouse Jiggle on Employees' Computers
- Best Hidden Screen Recorders You Need to Know in 2024
- [Windows] Best Software to Set Up Parental Control for Laptops
- How to Know If Your Files Have Been Copied [2024 Guide]
-
Q: What is MoniVisor?A: MoniVisor is a feature-rich PC monitoring tool for Windows computers. It enables users to track user activity, file folder changes, USB port connections, desktop time, real-time screen activity, and keyboard inputs. By integrating all of these features, MoniVisor aims to secure your online safety and streamline management workflow.
-
Q: Is MoniVisor a spy program for PC?A: No, MoniVisor is a computer monitoring tool and we do not endorse the use of the application for purposes prohibited by law. It is intended to be used exclusively on the user's own computer(s). In accordance with the laws of some countries, individuals being monitored, such as employees, must be informed and generally need to provide consent. If unsure about the legality of monitoring activities, it is advisable to seek legal advice.
-
Q: How does MoniVisor for Windows keep incognito on the target computer?Our MoniVisor PC monitoring software will disappear from the target's desktop and task manager immediately after activation. The user will not find out about the software and no notifications are sent to the user during this period.
-
Q: Do I need to access the target computer before it all?A: Yes. The very first step is to approach the target device and install the client end program thereon. After this, sign in to the User Center and navigate to the online dashboard. When ready, review all the monitored data from the panel on your own end.
-
Q: Will the target devices know they are being monitored?A: When you have successfully installed the client end program on the monitored computer, it goes hidden and won’t be easily found out. It disappears from the Task Manager and notification bar.
-
Q: How can I see what my employees are doing on their computers?A: With employee monitoring software like MoniVisor, you can easily get access to someone's browsing history, screen time, most-used apps, email exchanged, file changes, and computer login history. Besides, MoniVisor has a panel tailored for team management, which makes it more of a staff tracker in general terms.
-
Q: What is the best computer monitoring software?A: There's no fixed answer to this question. But regarding the functionality and user-friendliness, MoniVisor has its place. A wide spectrum of features along with an intuitive control panel make it an ideal choice for both parental control and employee monitoring. Meanwhile, don't forget to ensure that the actual usage aligns with your ethical and legal standards for monitoring activities.